Sharp focus can hide a setup mistake. If a UST picture looks flat or dim, check the screen’s direction before changing the projector. The optical face, top edge and light path all have a designated position. Miss one during assembly and the room may take the blame.
Why screen direction changes the picture
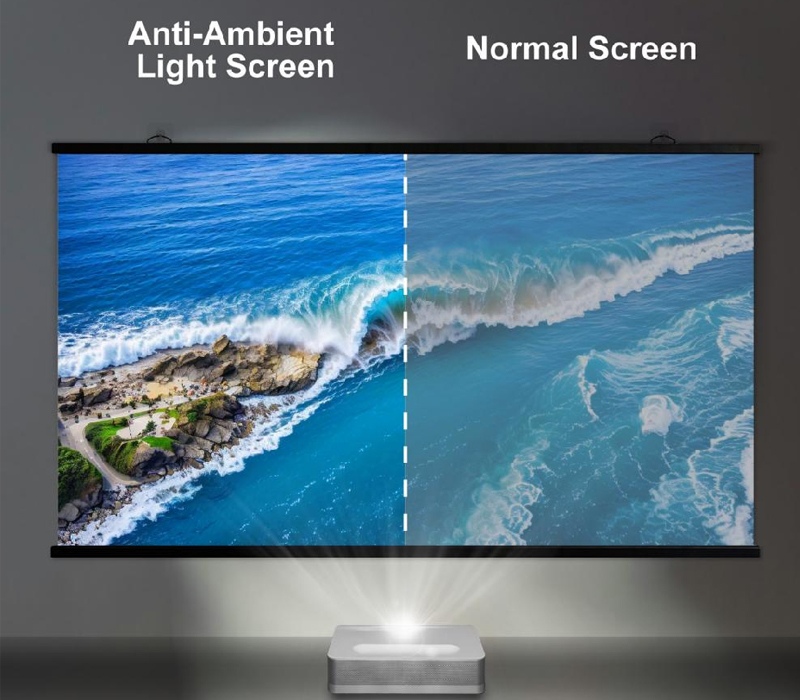
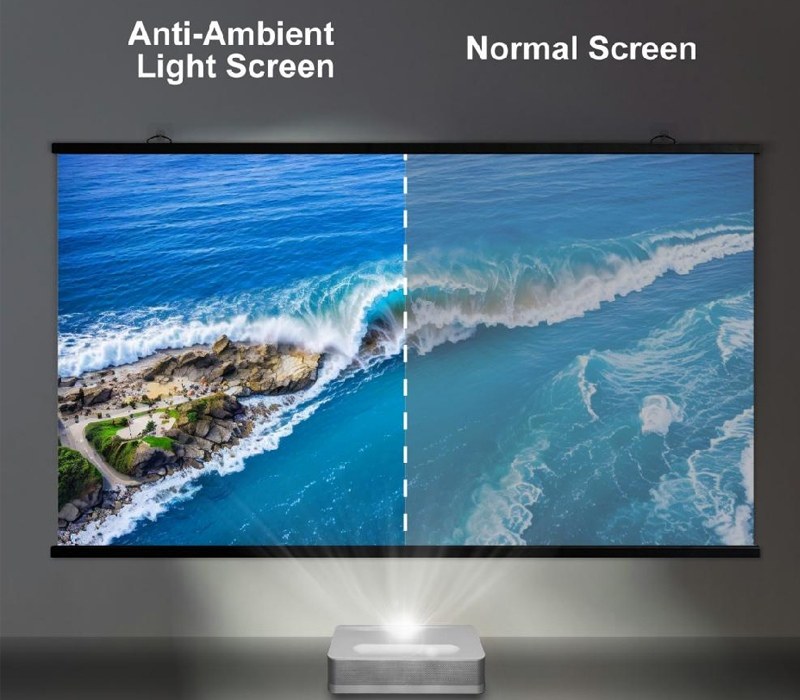
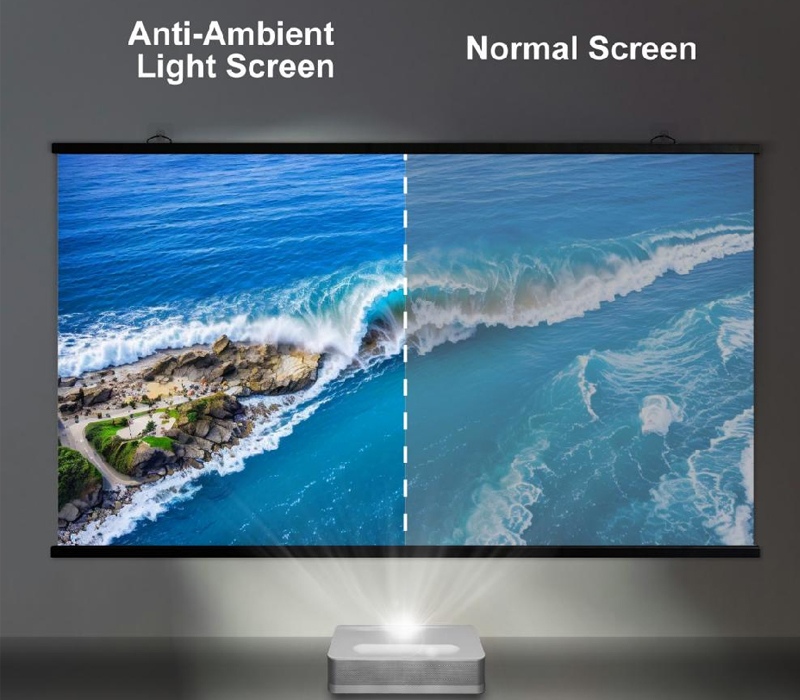
In a tabletop UST setup, the projector sends light upward. Room lights come from above too, but from the opposite direction. A directional screen’s optical layers are shaped around those paths: projected light goes toward the seats, while some ambient light is rejected.
Reverse the material and the intended paths no longer line up. Overhead light may reach the audience instead of being pushed away. Dark content looks washed out. Bright areas may lose punch. The projector’s image orientation control cannot turn the screen’s optical layers around.
ALR describes a light-control function, not a universal mounting rule. Fresnel and lenticular materials differ. Products with similar labels may still call for different projector positions. Check the model marking and its own installation instructions.
Identify the material before assembling the frame
Keep the carton label, model number and assembly sheet together. Check them before exposing the viewing surface. Look for a top-edge arrow, a note identifying the front, or a diagram showing projector position. If the mark is unclear, ask for confirmation before tensioning the screen or drilling. It is a small pause with a clear purpose.
Aoxing offers an alr screen for ultra short throw projector in a fixed-frame construction. That describes this product category only. It does not mean another ALR material can be substituted. Keep the correct model’s instructions with the job documents; a diagram for a similar screen may show a different orientation.
Check the front and back against the supplied marks. Colour, texture and a familiar frame edge are clues at best. Protect the optical face, and follow the handling instructions. Rubbing it to feel for a pattern risks damage and does not confirm the model.
Match the projector position to the screen
Set projector support and screen image height as a single layout. Use the placement dimensions for the chosen image size, then compare the actual position with the screen instructions. Before fixing the frame, confirm its marked top edge one more time.
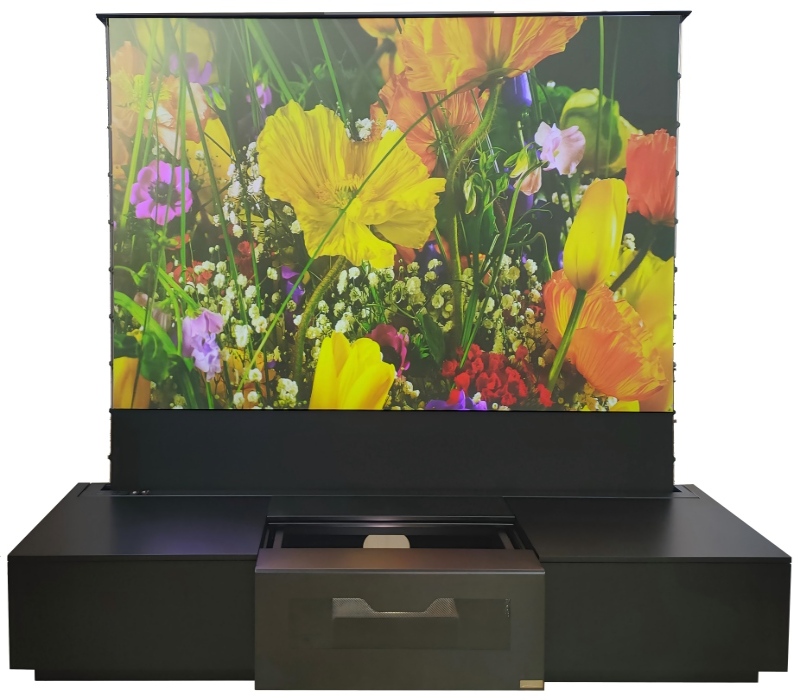
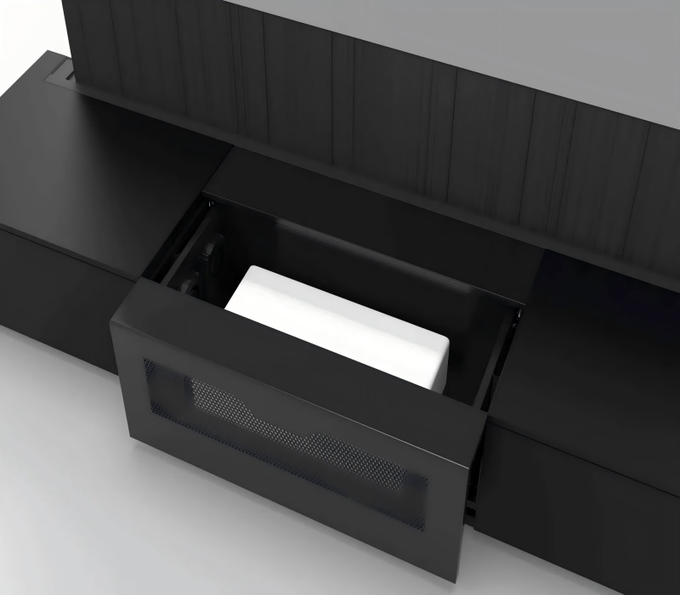
A floor rising projector screen cabinet makes the layout move. Aoxing’s One-Tap Cinema Smart Cabinet combines a UST projector arrangement with a rising screen. Check alignment with the screen fully deployed; also confirm cabinet position and projector clearance. The cabinet’s outside width does not tell you where the image will land.
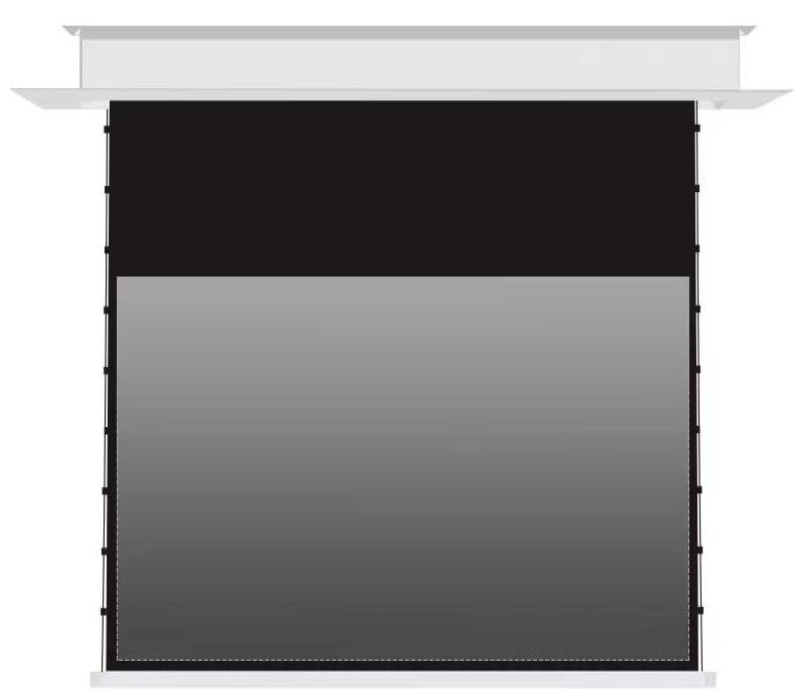
Ceiling mounting calls for model-specific approval. Inverting a tabletop UST screen does not make it suitable for a ceiling projector. Some ceiling-light-rejecting materials prohibit that setup because the useful viewing direction and overhead-light rejection change. Confirm the exact screen and projector combination before signing off on a ceiling layout.
Check the image before permanent fixing
Build a secure temporary setup first. Support the screen as instructed, protect the optical face and place the projector in its intended operating position. Check the marks before switching on. Better to pause here than patch a finished wall.
For a useful visual check, keep the projector mode and content constant. Show bright detail, dark detail and readable text. View from the intended seats under normal room lighting, then lower the overhead lights. Record the difference. The change can help locate a setup issue; it is not a measured rejection percentage.
Read each symptom as a prompt for the next inspection, not a diagnosis.
Observation
Verify next
The whole picture looks dim
Top-edge mark, front face and projector position
Overhead light washes out dark content
Material approval, ceiling-light direction and orientation
Seats vary sharply in brightness
Intended viewing area and projector alignment
Edges look bowed or uneven
Screen flatness, frame assembly and placement
A portable alr screen needs a fresh check after each move. New room, new light, different seats. Keep its marked top and front during setup, then run the picture check before the presentation. A successful check in the last room says nothing about this one.
Leave a clear orientation record
Record what the next technician needs to reproduce: screen model, direction label, projector position, deployed-screen photo and normal room lighting. Keep any reference marks away from the optical face. These details make a later move or service call easier to check.
The installation depends on three things working together: the marked surface direction, approved projector geometry and intended seats. Resolve an uncertain label before permanent fixing. After the visual check, save the approved arrangement. The next visit should not start with guesswork.
FAQ
Can an ALR screen be installed upside down?
Only when that exact model’s instructions permit it. Directional UST materials are generally not reversible; reversing the frame can change projected-light delivery and ambient-light rejection.
Does an upside-down image mean the screen is inverted?
No. A projector’s projection-mode setting may invert the image. Check that setting separately from the screen’s top and front marks; they address different issues.
Can a phone flashlight identify the correct screen direction?
A flashlight may reveal that a surface is directional. It does not recreate the angles of a UST installation. Treat it as a clue, then confirm the markings and check with the actual projector.
Should the screen be rotated if one seat looks darker?
Check the approved viewing area and projector alignment first. One darker off-axis seat does not establish that the screen is inverted. Compare the setup with the material instructions before removing or rotating it.
Can digital keystone correction fix the wrong screen direction?
No. Keystone correction changes the image shape, not the way the optical surface receives light. Confirm physical direction and placement before using permitted projector adjustments.
Yes. AOXING provides OEM and ODM services for projector screens and related AV display products. We support projects from product selection and structural development to sampling, mass production, private labeling, packaging and after-sales support.
Customization options may include screen material, screen size, aspect ratio, housing color, frame structure, motor and control system, voltage, plug type, logo, user manual, packaging and labeling. Available options depend on the product model and order requirements.
Please provide the product type, screen size, aspect ratio, screen material, projector type or throw ratio, estimated quantity, destination country and required customization. Drawings, reference images and target delivery dates are also helpful for preparing an accurate proposal.
Yes. Standard samples and customized samples are available for product evaluation, compatibility testing and quality approval. Sample cost and preparation time depend on the product specifications and customization requirements.
The MOQ varies by product model and customization level. Standard products generally support more flexible quantities, while customized structures, colors, packaging or electrical configurations may require a higher MOQ. Please contact us for model-specific information.
Lead time depends on the product type, order quantity and customization complexity. After confirming the specifications, our team will provide a clear schedule covering design review, sample approval, production, inspection and shipment.
Our quality-control process covers material inspection, production monitoring, screen-surface inspection, structural and functional testing, electrical testing for motorized products, packaging inspection and pre-shipment verification. Inspection requirements can also be adjusted for OEM and project orders.
Yes. For motorized projector screens, we can configure voltage, frequency, plug type, motor, remote control and control-system options according to the destination market. Please provide the local electrical requirements before sample or production confirmation.
Unless otherwise stated in the quotation or sales contract, AOXING products are covered by a 2-year warranty from the date of shipment. For verified manufacturing defects, support may include remote technical guidance, replacement parts, repair instructions or product replacement, depending on the technical evaluation and warranty terms.
We provide an initial response within 24 hours after receiving sufficient information. To help us evaluate the issue efficiently, please provide the product model, order number, affected quantity, issue description, clear photos or videos, and the local voltage or projector model when applicable.
Tell us your product type, required size, estimated quantity and customization needs. Our team will recommend a suitable solution and prepare a project-specific quotation.
RELATED PRODUCTS
Your right choice today, our resplendent tomorrow!


 author
 How Ambient Light Rejecting Projector Screens WorkNovember 12, 2026
 ALR Screen Gain and Viewing Angle: What Matters MostNovember 5, 2026
 Installing a UST ALR Screen the Right Way UpOctober 29, 2026