Sharp focus can hide a setup mistake. If a UST picture looks flat or dim, check the screen’s direction before changing the projector. The optical face, top edge and light path all have a designated position. Miss one during assembly and the room may take the blame.
Why screen direction changes the picture
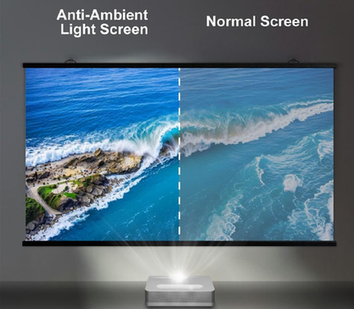
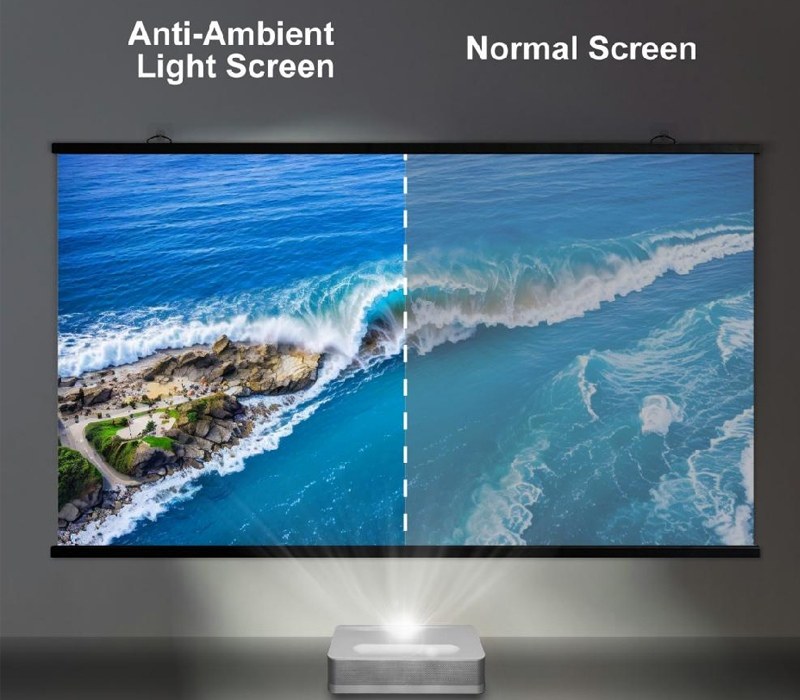
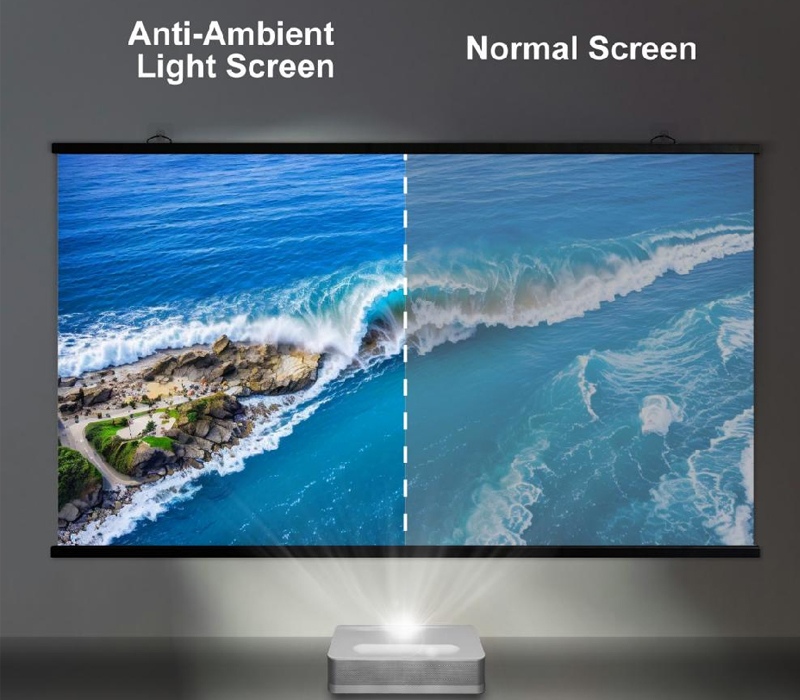
In a tabletop UST setup, the projector sends light upward. Room lights come from above too, but from the opposite direction. A directional screen’s optical layers are shaped around those paths: projected light goes toward the seats, while some ambient light is rejected.
Reverse the material and the intended paths no longer line up. Overhead light may reach the audience instead of being pushed away. Dark content looks washed out. Bright areas may lose punch. The projector’s image orientation control cannot turn the screen’s optical layers around.
ALR describes a light-control function, not a universal mounting rule. Fresnel and lenticular materials differ. Products with similar labels may still call for different projector positions. Check the model marking and its own installation instructions.
Identify the material before assembling the frame
Keep the carton label, model number and assembly sheet together. Check them before exposing the viewing surface. Look for a top-edge arrow, a note identifying the front, or a diagram showing projector position. If the mark is unclear, ask for confirmation before tensioning the screen or drilling. It is a small pause with a clear purpose.
Aoxing offers an 초단초점 프로젝터용 ALR 스크린 in a fixed-frame construction. That describes this product category only. It does not mean another ALR material can be substituted. Keep the correct model’s instructions with the job documents; a diagram for a similar screen may show a different orientation.
Check the front and back against the supplied marks. Colour, texture and a familiar frame edge are clues at best. Protect the optical face, and follow the handling instructions. Rubbing it to feel for a pattern risks damage and does not confirm the model.
Match the projector position to the screen
Set projector support and screen image height as a single layout. Use the placement dimensions for the chosen image size, then compare the actual position with the screen instructions. Before fixing the frame, confirm its marked top edge one more time.
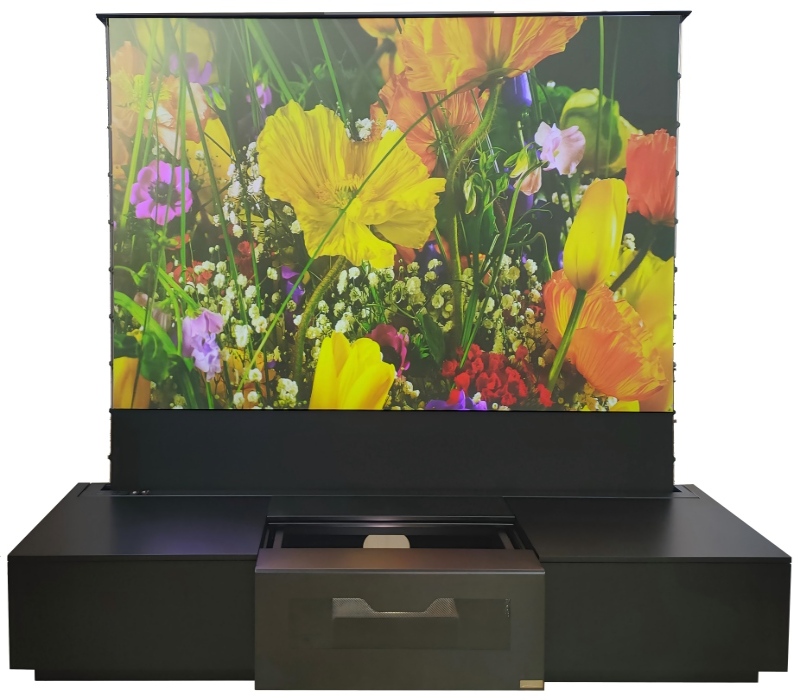
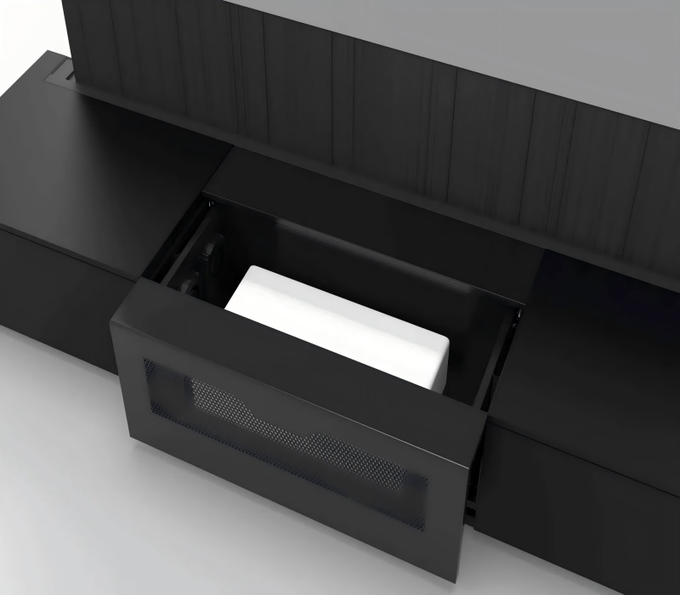
A 바닥 설치형 프로젝터 스크린 캐비닛 makes the layout move. Aoxing’s One-Tap Cinema Smart Cabinet combines a UST projector arrangement with a rising screen. Check alignment with the screen fully deployed; also confirm cabinet position and projector clearance. The cabinet’s outside width does not tell you where the image will land.
Ceiling mounting calls for model-specific approval. Inverting a tabletop UST screen does not make it suitable for a ceiling projector. Some ceiling-light-rejecting materials prohibit that setup because the useful viewing direction and overhead-light rejection change. Confirm the exact screen and projector combination before signing off on a ceiling layout.
Check the image before permanent fixing
Build a secure temporary setup first. Support the screen as instructed, protect the optical face and place the projector in its intended operating position. Check the marks before switching on. Better to pause here than patch a finished wall.
For a useful visual check, keep the projector mode and content constant. Show bright detail, dark detail and readable text. View from the intended seats under normal room lighting, then lower the overhead lights. Record the difference. The change can help locate a setup issue; it is not a measured rejection percentage.
Read each symptom as a prompt for the next inspection, not a diagnosis.
Observation
Verify next
The whole picture looks dim
Top-edge mark, front face and projector position
Overhead light washes out dark content
Material approval, ceiling-light direction and orientation
Seats vary sharply in brightness
Intended viewing area and projector alignment
Edges look bowed or uneven
Screen flatness, frame assembly and placement
A 휴대용 ALR 스크린 needs a fresh check after each move. New room, new light, different seats. Keep its marked top and front during setup, then run the picture check before the presentation. A successful check in the last room says nothing about this one.
Leave a clear orientation record
Record what the next technician needs to reproduce: screen model, direction label, projector position, deployed-screen photo and normal room lighting. Keep any reference marks away from the optical face. These details make a later move or service call easier to check.
The installation depends on three things working together: the marked surface direction, approved projector geometry and intended seats. Resolve an uncertain label before permanent fixing. After the visual check, save the approved arrangement. The next visit should not start with guesswork.
FAQ는
Can an ALR screen be installed upside down?
Only when that exact model’s instructions permit it. Directional UST materials are generally not reversible; reversing the frame can change projected-light delivery and ambient-light rejection.
Does an upside-down image mean the screen is inverted?
No. A projector’s projection-mode setting may invert the image. Check that setting separately from the screen’s top and front marks; they address different issues.
Can a phone flashlight identify the correct screen direction?
A flashlight may reveal that a surface is directional. It does not recreate the angles of a UST installation. Treat it as a clue, then confirm the markings and check with the actual projector.
Should the screen be rotated if one seat looks darker?
Check the approved viewing area and projector alignment first. One darker off-axis seat does not establish that the screen is inverted. Compare the setup with the material instructions before removing or rotating it.
Can digital keystone correction fix the wrong screen direction?
No. Keystone correction changes the image shape, not the way the optical surface receives light. Confirm physical direction and placement before using permitted projector adjustments.
최소 주문 수량(MOQ)은 제품 모델 및 맞춤 제작 수준에 따라 다릅니다. 표준 제품은 일반적으로 주문 수량에 제약이 적지만, 구조, 색상, 포장 또는 전기 구성이 맞춤 제작된 경우에는 더 높은 MOQ가 요구될 수 있습니다. 모델별 자세한 정보는 당사로 문의해 주십시오.


 저자
 주변광 차단 프로젝터 스크린 작동 원리11월 12, 2026
 ALR 스크린 게인과 시야각: 가장 중요한 것은 무엇일까요?11월 5, 2026
 UST ALR 스크린을 올바른 방향으로 설치하는 방법10월 29, 2026